The “Great Deal” That Became a Daily Headache
Hey, Jack Whittaker here from suburban Indianapolis. By now in this launch series, you’ve heard all about my renovation journey — the hidden costs, change order chaos, entryway fixes, countertop lessons, and the many times I learned the hard way. Today we’re back in Budget Bruises with a truth that took me too long to fully accept: cheap materials usually cost more once you actually live with them.
I fell for this trap multiple times early on. The “budget-friendly” options looked fine in the store and saved money upfront. But after a few months with two active kids, a dog, and normal family life, those savings disappeared in repairs, replacements, and constant annoyance. This post is about spotting those false economies before you sign the check.
Why Cheap Materials Backfire in Family Homes
Suburban family houses take a beating. Wet shoes, spilled snacks, toy cars racing across floors, doors slammed by little hands, and constant traffic. Materials that work great in a child-free show home often fail fast in real life.
I learned this with several choices:
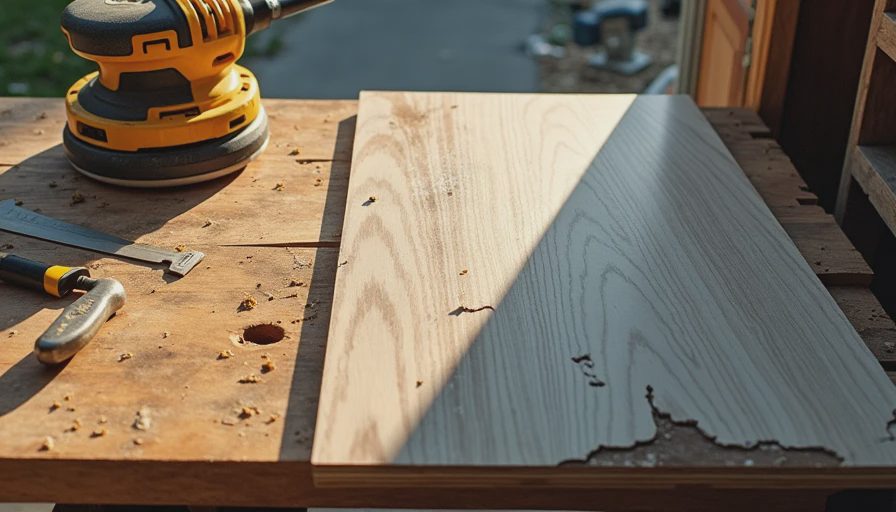
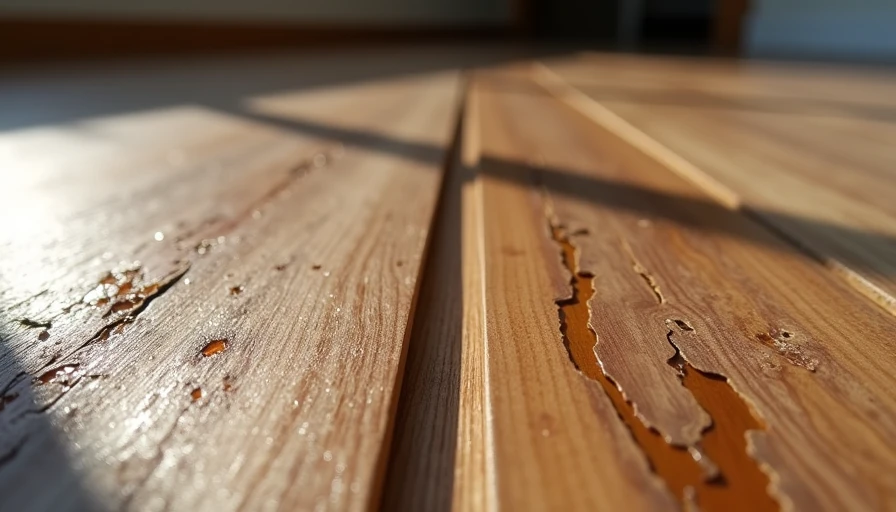
The Cheap Laminate Flooring
It looked decent and was half the price of better options. Within months it had deep scratches, edges lifting, and water damage near the entry. Replacement cost more than buying good stuff initially, plus the hassle of another disruption.
Builder-Grade Cabinets and Hardware
Particleboard boxes swelled, doors sagged, and cheap hinges failed. We ended up replacing hardware multiple times and eventually planning a full redo sooner than expected.
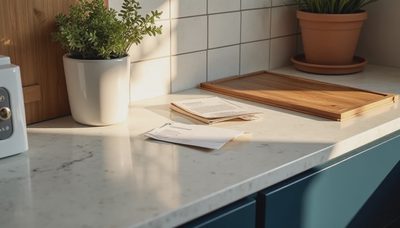
Thin Countertops and Basic Finishes
The low-end laminate and thin edges chipped easily. They showed every mark and required constant careful use, which isn’t realistic with kids.
Low-Quality Paint and Caulk
Cheap paint scuffed and stained easily. Poor caulk cracked and let moisture in, leading to bigger issues later.
These weren’t luxury failures — they were the direct result of trying to save a few hundred dollars here and there.
The Real Cost Breakdown
When you buy cheap:
Higher maintenance — more cleaning, touch-ups, and repairs.
Shorter lifespan — replacement comes years earlier.
Daily frustration — things that don’t work smoothly add stress.
Opportunity cost — money spent fixing problems could have gone to better initial choices.
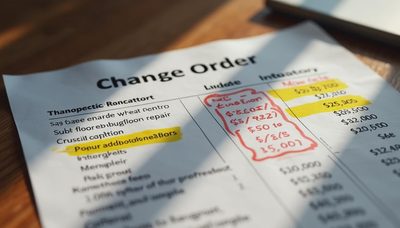
In our case, the total “cheap material tax” across the project easily exceeded $4,000–$6,000 in follow-up work and lost time. That doesn’t even count the mental toll of living with things that never quite worked right.
What’s Worth Spending More On (And What’s Not)
Worth the Upgrade:
Flooring — Thicker luxury vinyl plank or solid engineered hardwood with good wear layers. It lasts longer and looks better over time.
Cabinet construction — Plywood boxes and soft-close hardware (as I covered earlier).
Countertops — Quality quartz with proper thickness and edges.
Paint — Scrubbable, higher-quality brands in the right finish for high-traffic areas.
Hardware and fixtures — Solid brass or heavy-duty options that don’t loosen quickly.
Can Often Go Budget:
Decorative items like light fixtures or accessories that are easy to swap.
Less visible areas like interior cabinet shelves.
Basic trim if it’s painted and not high-wear.
How I Make Material Decisions Now
I use a simple evaluation framework:
Live-with test — How will this hold up to our family’s actual routines?
Total cost of ownership — Initial price + maintenance + expected lifespan.
Samples in real conditions — Take them home and test with kids, spills, and shoes.
Contractor input with skepticism — Ask what they’d choose for their own house.
My signature question remains: “Looks good now, but how does it live?”
Real Wins After Switching Mindset
When we upgraded key items in later phases, the difference was night and day. The kitchen feels calmer, cleaning is faster, and we don’t have constant little repairs nagging at us. The house just works better, which is the whole point of a family remodel.
Action Step for Your Project
Look at your current material selections. For each major item, ask: “Is this the cheap version that will bite me later?” Calculate the true long-term cost. Then shift money from decorative extras to the high-use items that matter most.
Budget Bruises is all about avoiding these expensive lessons. I paid the tuition so you don’t have to.
What cheap material choice have you regretted the most? Or what upgrade surprised you with how much better it performs? Share in the comments — let’s help each other make smarter calls.
Thanks for reading. We’re getting close to the end of the initial roadmap. Next we’ll continue House Decisions with small details that quietly make a big difference.
Remember: You don’t need the fanciest house. You need fewer dumb mistakes — especially the ones that look like savings but deliver daily regret.


No letters yet — be the first to write.